Groups
The Groups feature allows you to create and manage user groups in order to simplify permission assignment on forms and make sharing easier.
Using groups avoids having to select users individually when managing permissions or sharing content.
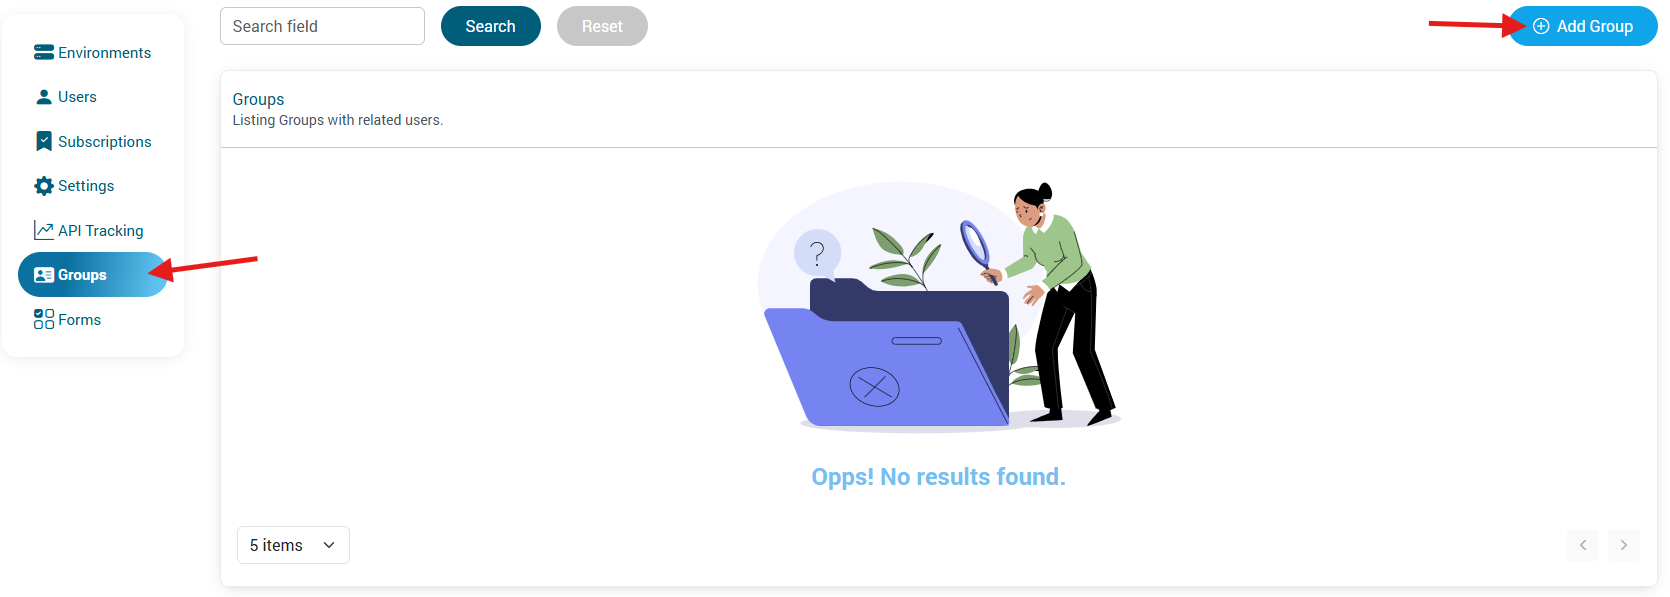
Creating a Group
A group can be created from the “Groups” view by clicking the “Add Group” button.
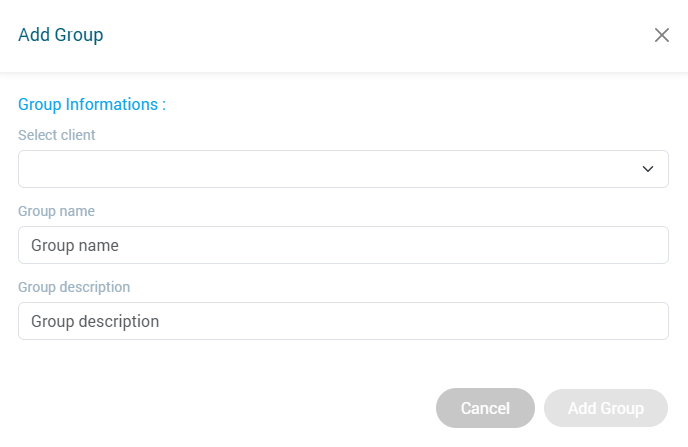
Fill in the following information:
- Group name
- Group description
Then click “Add Group” to confirm the creation.
Managing a Group
To manage an existing group, click the edit button associated with the selected group.
![]()
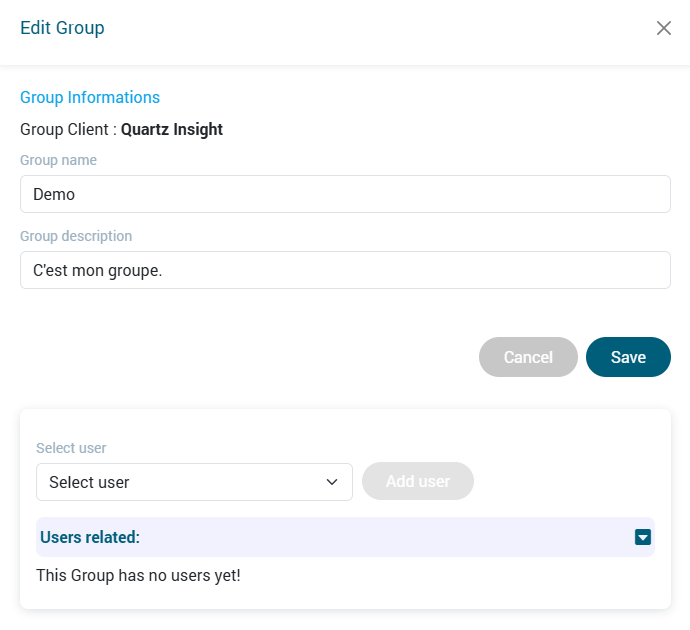
A window opens, allowing you to:
- edit the group name,
- edit the description,
- add or remove users from the group.
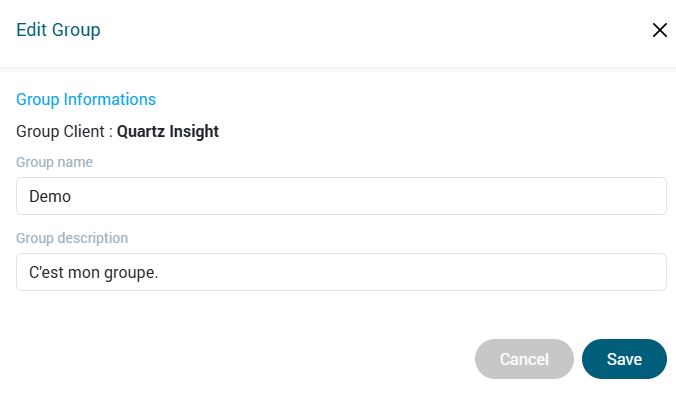
Editing a Group
To edit the group name or description:
- Update the desired value.
- Click “Save” to apply the changes.
Adding a User to a Group
Users can be added from the group edit view:
- Select the user to add.
- Click “Add User”.
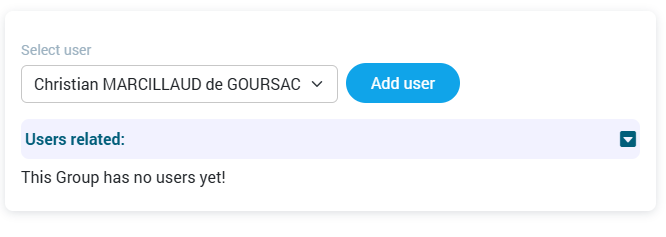
The user will then appear in the list of users associated with the group.
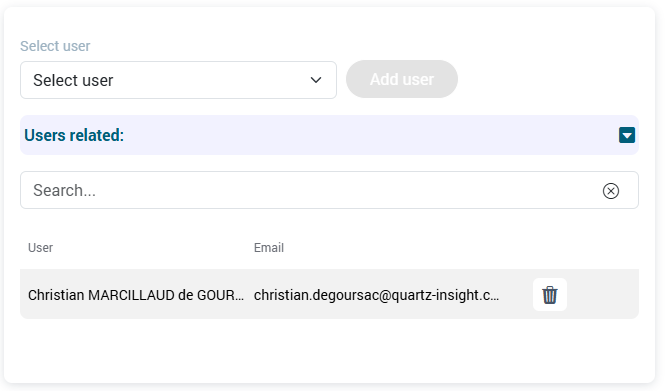
Removing a User from a Group
To remove a user from a group:
- Click the trash icon next to the user.
- Confirm the deletion.
The user will no longer appear in the group’s member list.
![]()
Deleting a Group
To delete a group, click the trash icon associated with the group row.

Warning: Deleting a group removes all user–group associations, but does not delete the users themselves.